click here to enlarge
click here to enlarge
Go back to Polygonal string
The author has shown in "Polygonal string" that rings of regular polygons can be created by folding a strip of paper with constant width. These tapes are marked with crease lines which are drawn drawn manually or automatically by printer. The advantage of this approach is that it is possible to control the pattern of the final work, but as the number of the sides increases, it get more and more difficult to create the corresponding strip pattern. One of the difficulties is preparing the constant width paper tape. Then the autho�the author came up with the idea of using Paper Tapes used in Quilling, and was awarded with surpringly pleasing results. The following is a brief summary of the efforts so far.
Let us begin with the simplest example (pentagon).
Preparation Stage
Step 1: Choose a paper strip size and print out a figure of pentagon for the selected
paper width. Or it can be drawn on a piece of paper with compass and ruler. Unless
you cut out paper strips by yourself, many sizes of Quilling paper are available.
Quilling supply stores offer the sizes raging from 1/8 up to 1 inch, but the
author thinks 1/8 is too small to handle. The author thinks that the sizes ranging
from 3/8 to one inch are good choices.
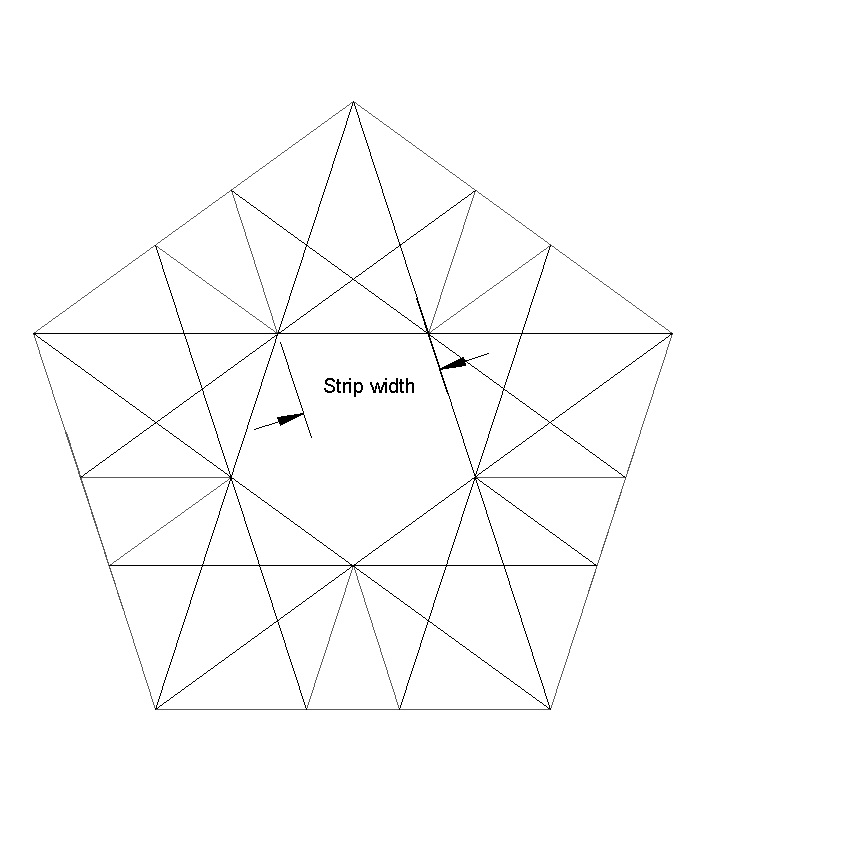
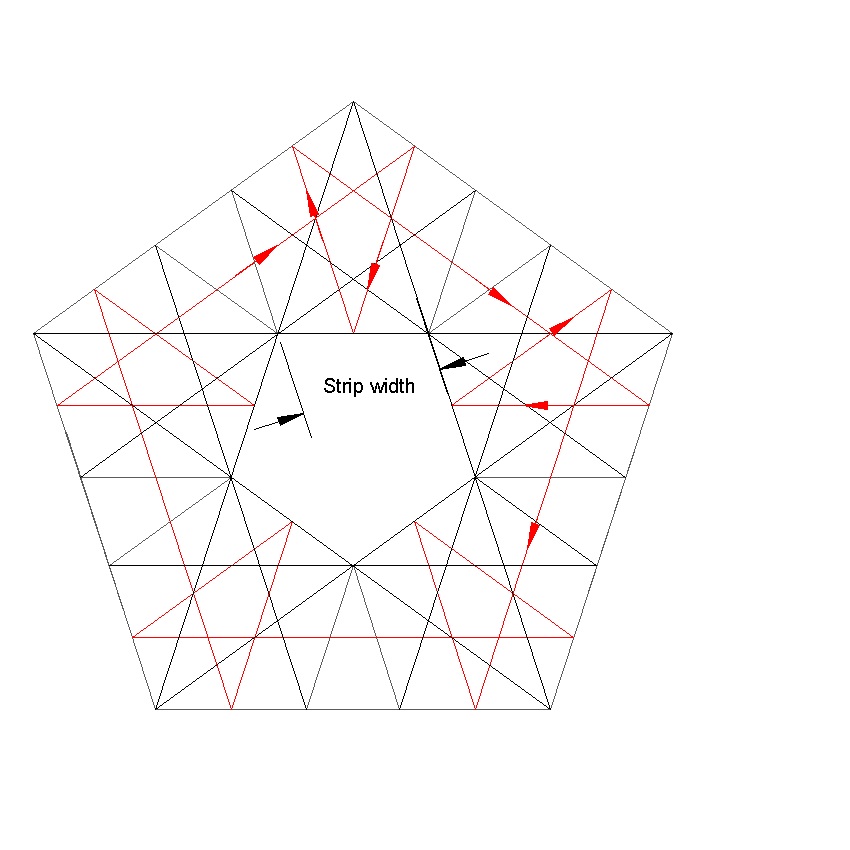
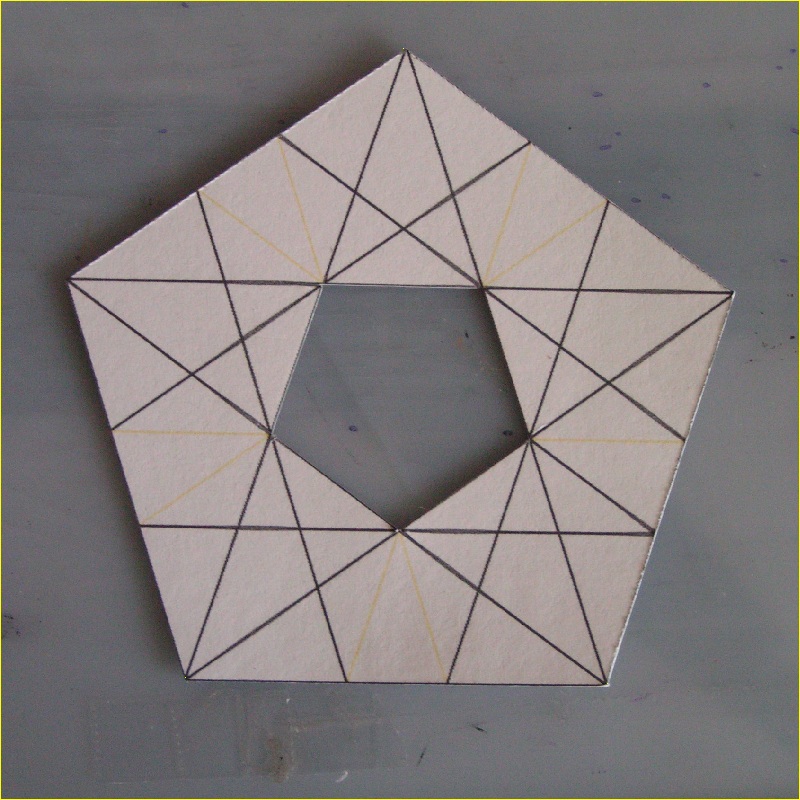
The left figure below shows the basic folding patterns and the right figure shows
the direction of the folding process by red arrows.
|
Pentagon Template click here to enlarge |
Folding direction click here to enlarge |
Step 2: Paste the paper onto a thicker piece of paper with weight index of more than
50 lbs.
Note: most of the printer paper's weight index is 20 lbs (or 75 gram/mm2) in metric)
If you have a direct paper feeding type printer (like Epson 1400), it is possible
to print out directly using paper up to 100 lbs index value.
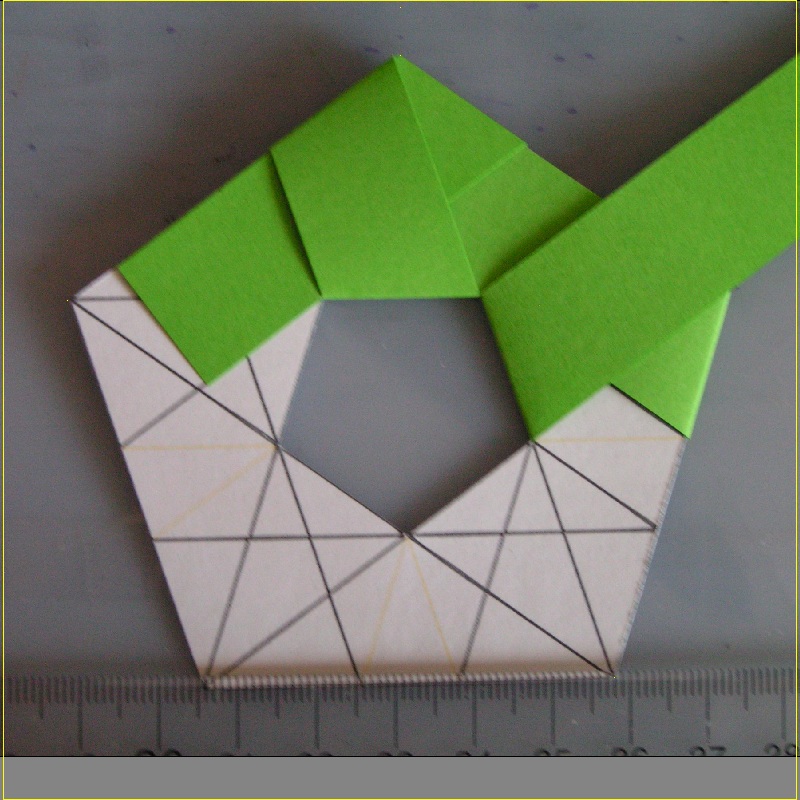
Step 3: Begin laying a tape along the reference lines on the template sheet.
There are two methods to proceed.
The first approach is suited for quilling paper, and the second ,
for general cases like any adhesive tape, masking tape and any tape in general
including even fabric tapes.
Folding Stage
The First Method
In the example of the first approach the paper width is 3/4 inch.
The length of tape required to go around the pentagon is approximately 23 inches.
The length of the quilling tape prepared is 24 inches , so one tape is enough to
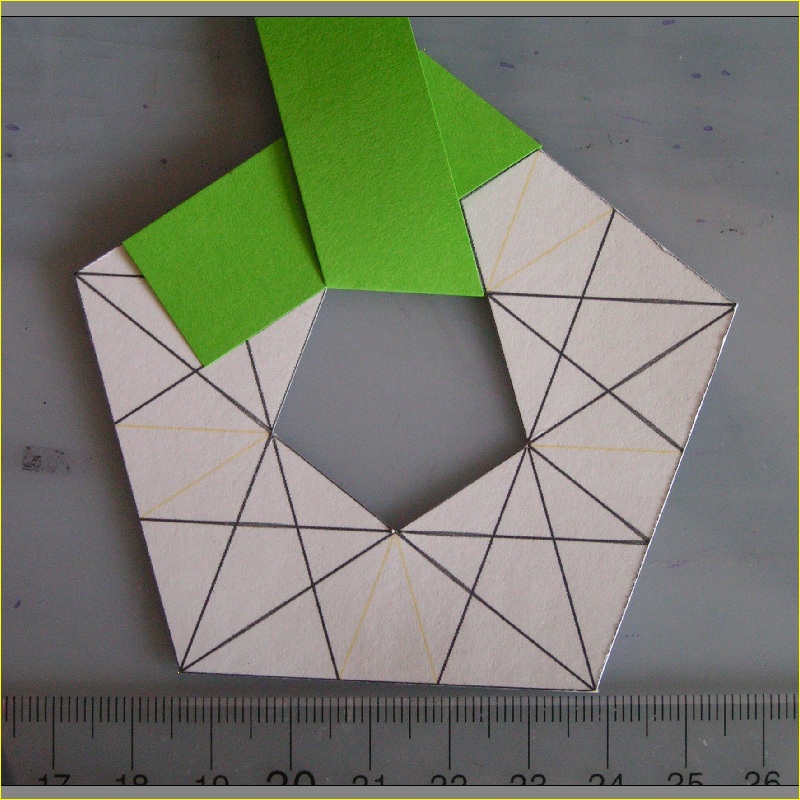
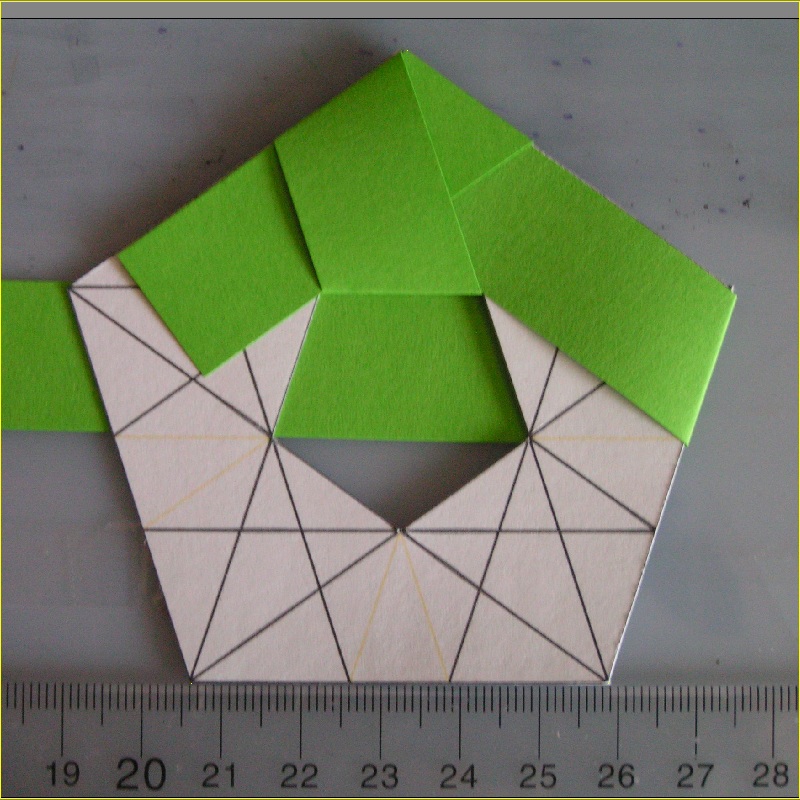
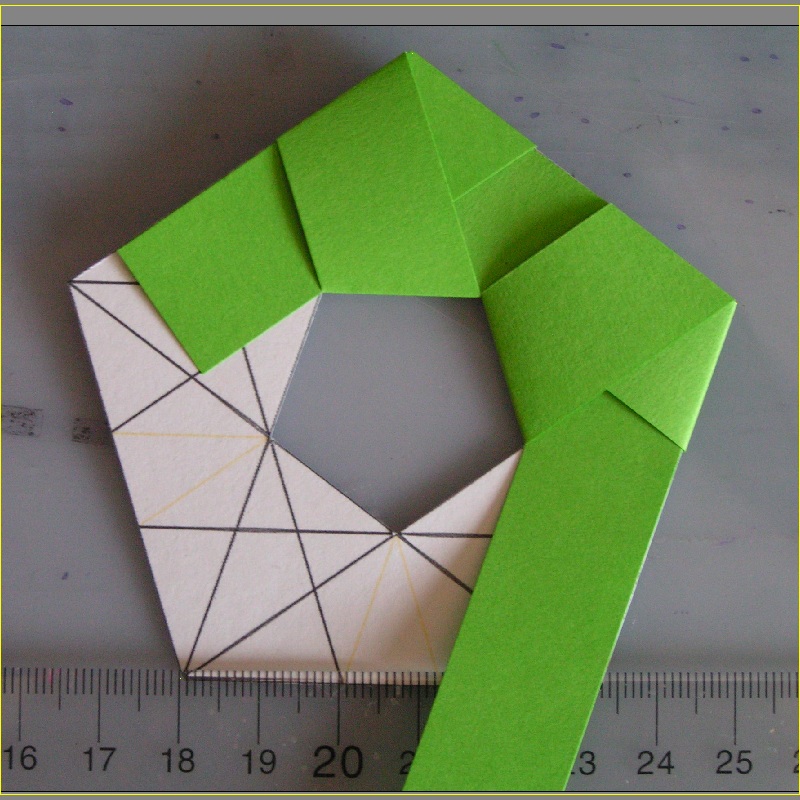
complete the job. Special attention must be paid during steps between "start" and
"step 1", also between "step 2" and "step3". The tape is returned between the tape
and the template sheet (not the back side of the template sheet).
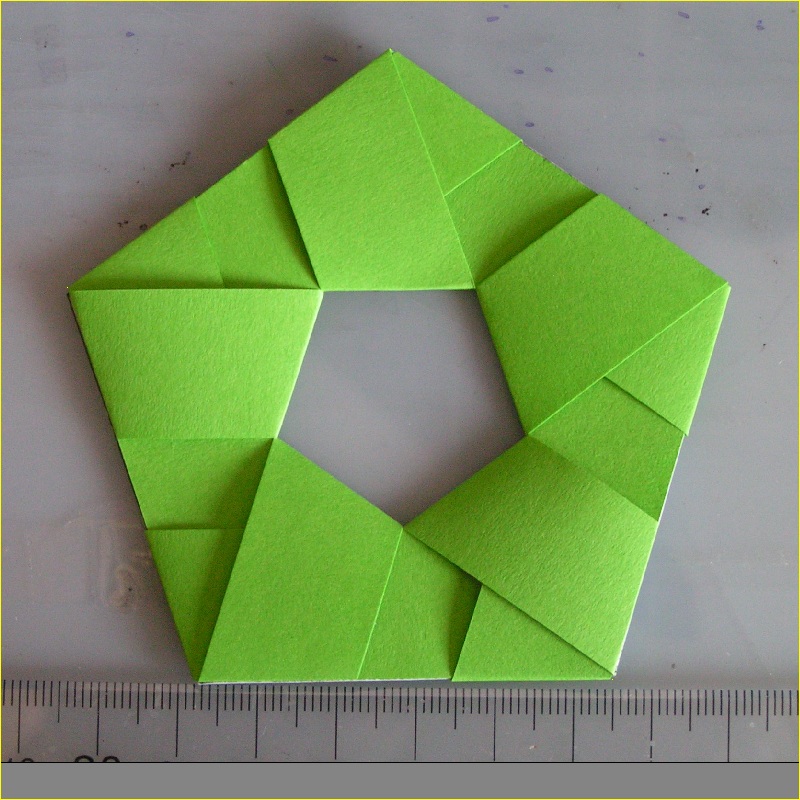
When the tape reaches the starting location, cut the tape and insert the endpoint
under the tape.
If done correctly, the front and back look like the pictures shown.
Otherwise there must be some errors during the folding process.
|
Template click here to enlarge 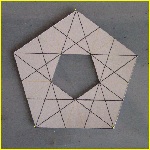 |
Start click here to enlarge 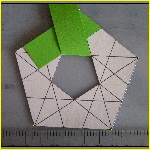 |
Step 1 click here to enlarge 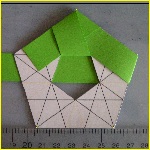 |
Step 2 click here to enlarge 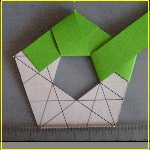 |
|
Step 3 click here to enlarge 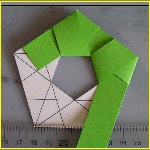 |
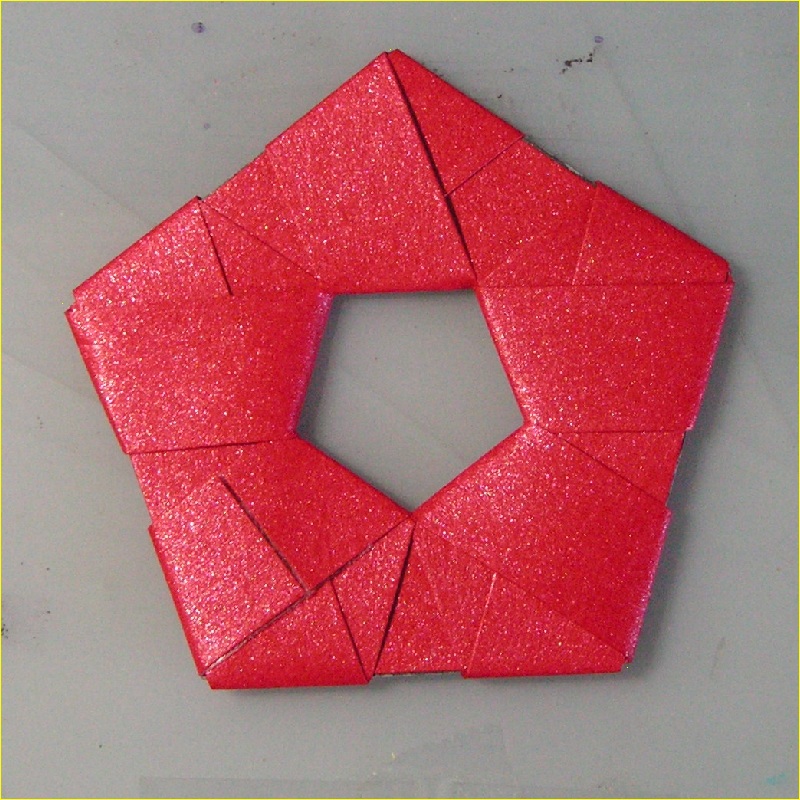
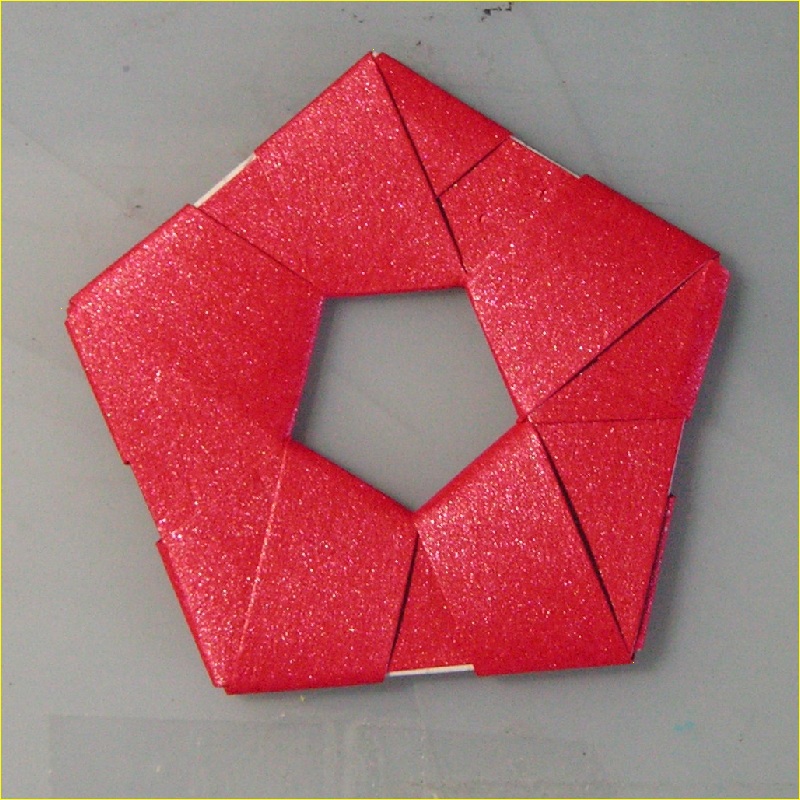
Completed (front view) click here to enlarge 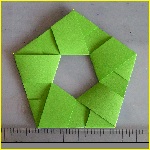 |
Rear View click here to enlarge 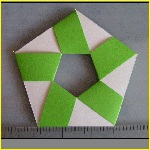 |
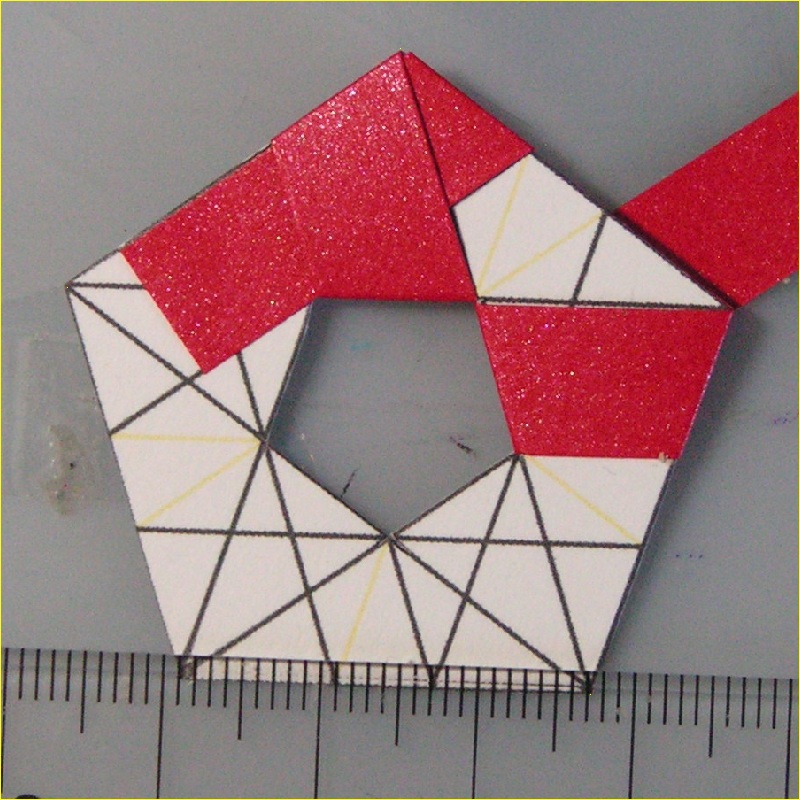
The Second Method
For this case , the paper width selected is 3/8 inch.
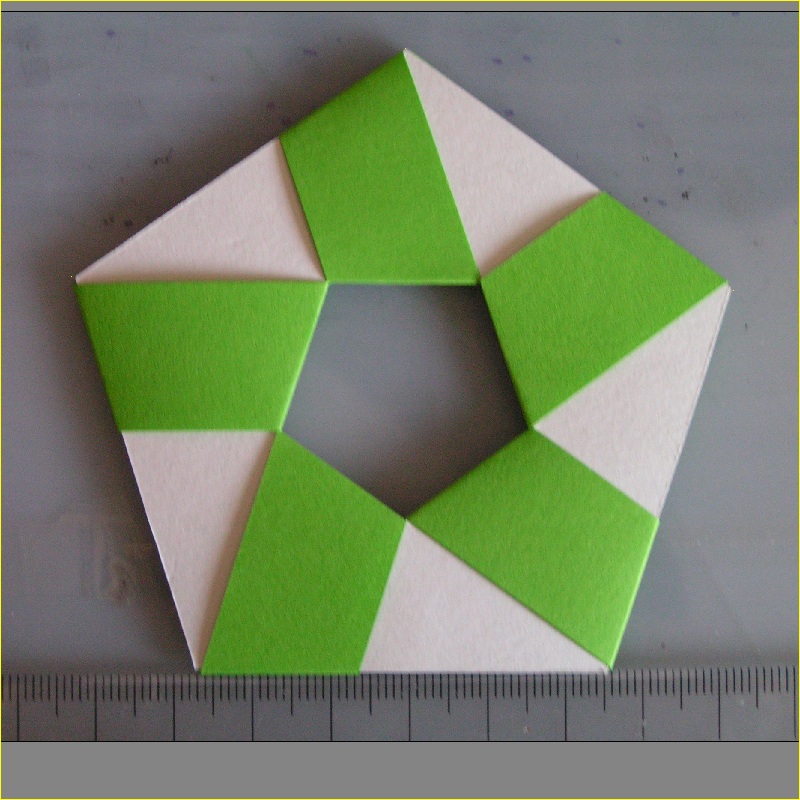
Comparing the pictures of step 2, the readers can see the difference between the two methods.
Instead of going between tape and template sheet, the tape goes along the back of the template sheet.
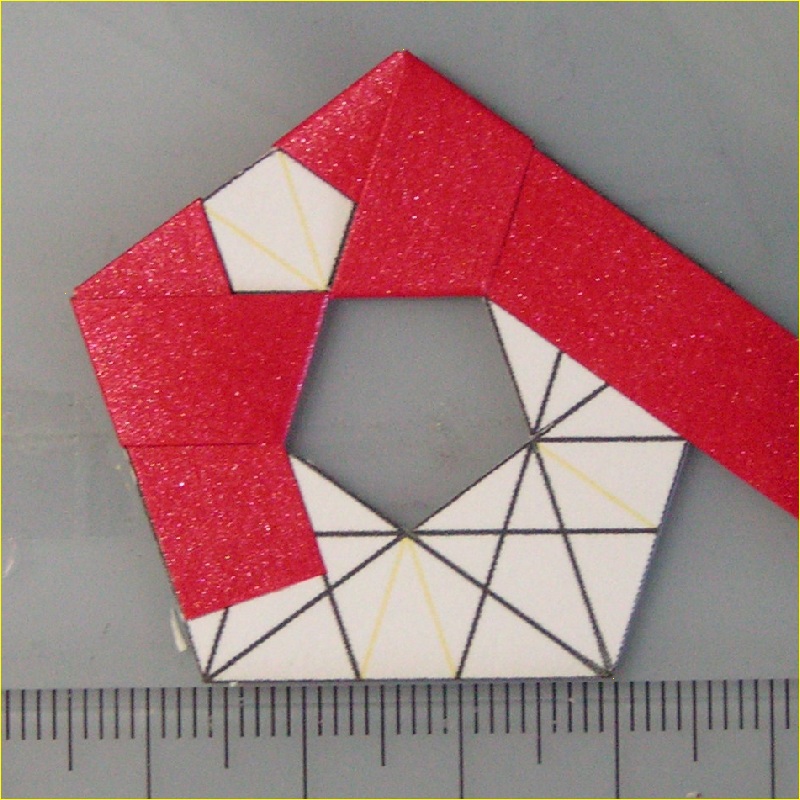
As a result, an uncovered area of pentagon shape (see step 3 fiure below) remains.
And when the tape reaches the starting point, two uncovered areas are left in the front.
Situation is the same for the rear view.(see "End of 1-st cycle" figures)
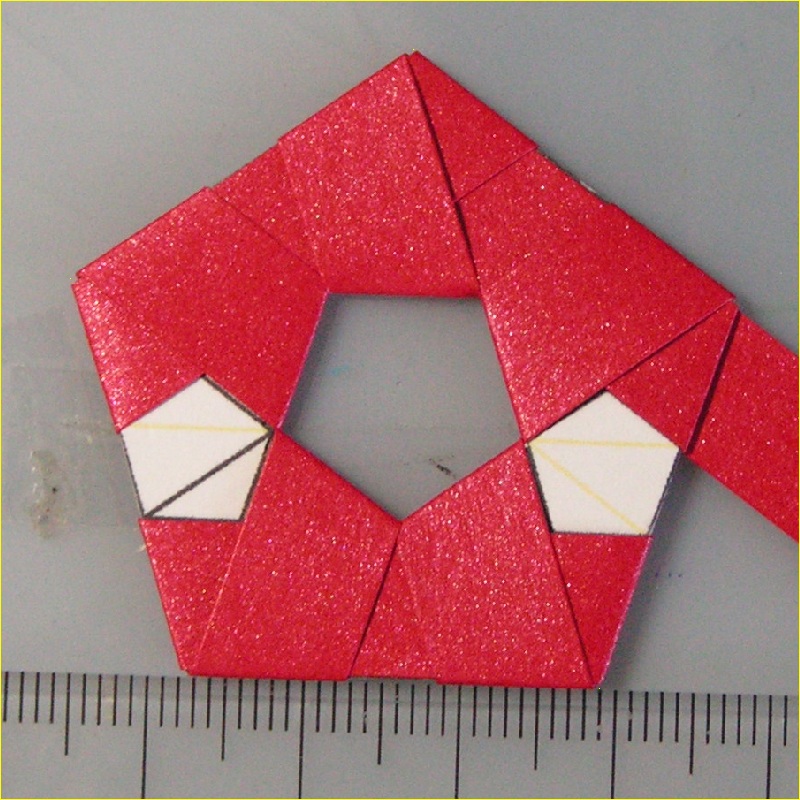
In order to cover these blank space, one more cycle is required.
So this method requires exactly two times of tape length.
But this method gives exactly the same pattern on both sides of the sheet.
|
Step 2 click here to enlarge 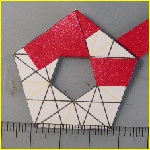 |
Step 3 click here to enlarge 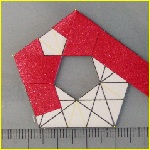 |
End of 1-st cycle(front) click here to enlarge 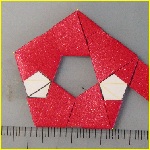 |
|
End of 1-st cycle(back) click here to enlarge  |
Complete (front) click here to enlarge 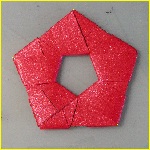 |
Complete (back) click here to enlarge 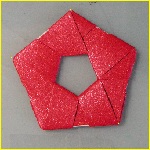 |
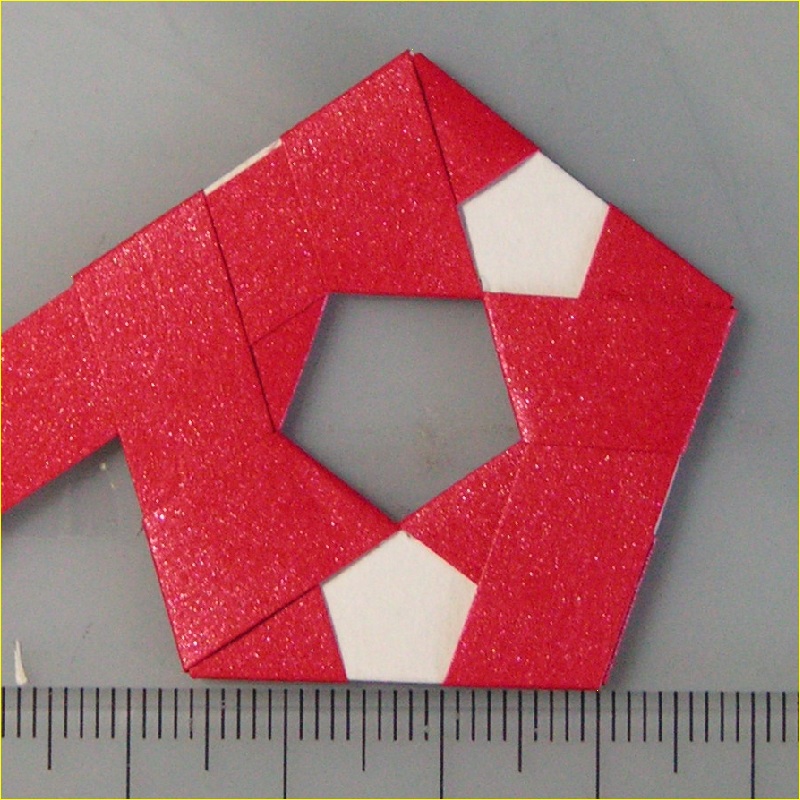
    In order to save this extra waste of tape, 4 blank areas (two each on front and back)
   as shown in figures above must be covered before the folding starts. This is shown in
   the following figures. It is interesting to note that in general
     this type of modification can be applied  to any odd numbered polygons.
|
Method 2 - modified click here to enlarge 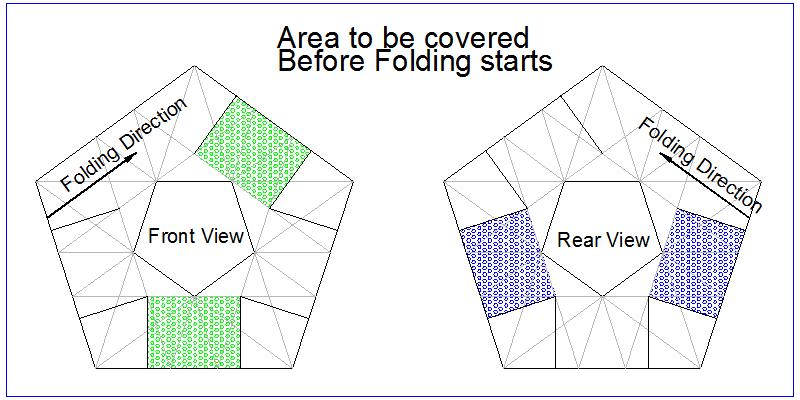 |
Go back to Polygonal string